
 Chinese New Year is just about 3 weeks or less from now and most of my social network friends from facebook and twitter have already started their Chinese New Year Bakes with Pineapple Tarts, Kueh Bangkit, Peanut Cookies, Kueh Lapis and etc since early this week. For me every year I would definitely baked our family favourite pineapple tarts which I would giveaway to some relatives and close friends.
Since this coming Chinese New Year would be the year of "RABBIT", I decided to make some special "BUNNY" theme pineapple tarts to suit this year Chinese Horoscopes theme. If you have followed this blog for long, you would have remember about my last year "Tiger" theme tarts for the year of "TIGER" too (you could read more HERE).
 This year I have made two different types of "Bunny" shape tarts which comes in either "Open" or "Closed" tart version. For the "closed tart", I have wrapped the pineapple fillings with a thin layer of dough skin and pressed it into a bunny mould to achieve the shape shown above.
 For this pastry recipe, I have adapted another version from one of my favourite blogsite know as The Little Teochew which some of you might have read most of her posts before.
 Ingredients:
(adapted mainly from The Little Teochew)400g Plain Flour
50g Corn flour
1/4 (heaped) Teaspoon Salt
280g Cold, Unsalted Butter (do not allow it to soften)
3 Egg Yolks, beaten
3 Tablespoons Cold Water (or iced water)
5 Tablespoons Icing Sugar
1/2 Teaspoon Cognac
For glaze:
1 egg yolk + 1 Tablespoon water, beaten
 Getting the tarts ready by gazing and topping it with pineapple fillings before sending them into the oven.
 Method:
1. Refer to the original recipe from Little Teochew for the steps on making the pastry HERE.2. When the dough is done divide it into smaller portions(example 3 portions) and place each portion in a plastic bag and slightly flatten it before chilling in the fridge for about 10 minutes or so.
3. While working with the pastry, you can use 1 portion at time and keeps the remaining in the fridge to prevent the pastry from oozing oil due to the warm temperature.
4. Roll the pastry to your desired thickness and cut out dough using bunny or normal traditioanl pineapple cutter.
5. Arrange cutouts neatly onto baking tray with some spacing apart.
6. Once the tray has filled up with tart shells, glaze them with beaten egg yolk mixture and placed the pre-rolled pineapple jam balls onto each tart shell.
7. Bake in preheated oven at 160 degrees for about 20 minutes. Rest baked tarts on tray for about 2 minutes before transferring to cooling rack.
 From the enquiries of some readers, these are the two mould that I used for making the Bunny Pineapple Tarts. For the open tart bunny, you could get any bunny design cookie cutters from baking stores or even Daiso. But as for the closed tart version, you have to get this bunny design egg mould which I got it from one of the online Bento spree years back.
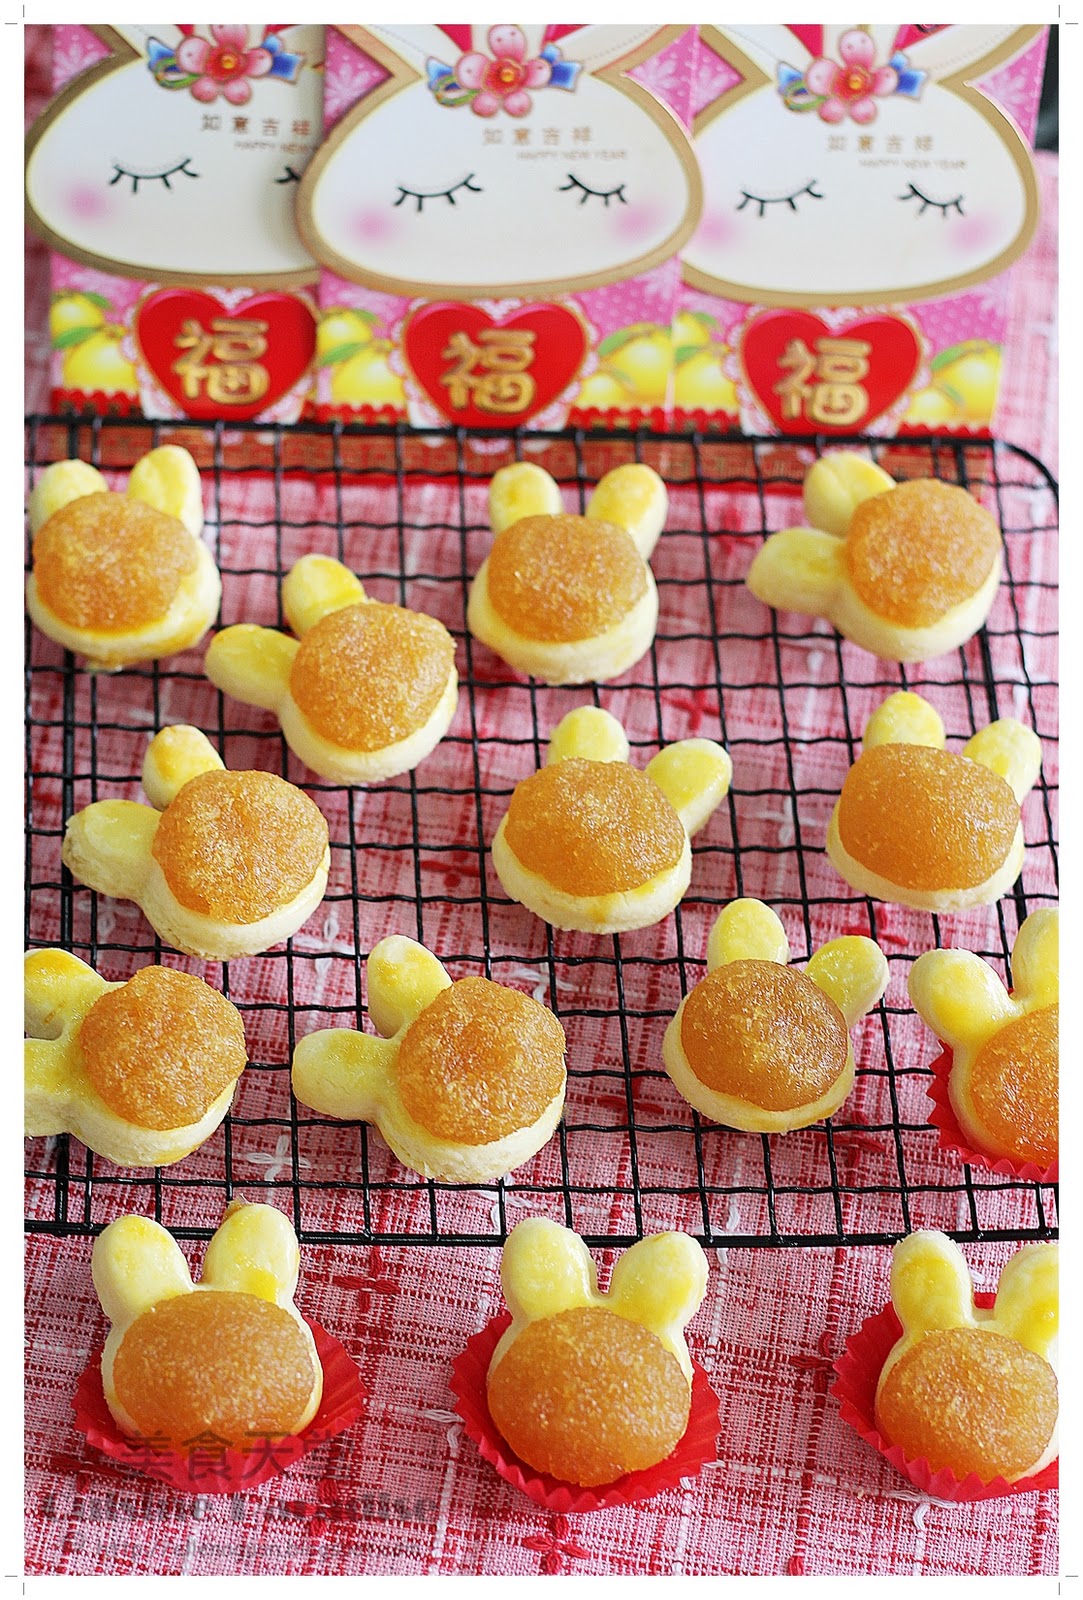 As for the pineapple paste, you could either prepared your own using fresh and good grade pineapples together with sugar, some spieces and cooked it over low heat till it turns into a thick golden colour paste. Or in order to save time you could always get those ready made paste from local supermarket too. Here are some suggestions shared by our fanpage readers on the choice of "Butter" and "Pineapple Fillings" for your reference.
  Finally after spending a few hours in the kitchen doing all the rolling, cutting, egg washing and etc. Here are our Chinese New Year Bunny Pineapple Tarts for the year of Rabbit. And I hope this new creation of mine would give you some ideas on what to bake as gifts or treats for the coming New Year to impressive your guests. And also I am submitting this post to "Aspiring Bakers #3: My Favourite CNY Cookie! (January 2011)", hosted by Jess of j3ss kitch3n at this link HERE.
Lastly perhaps if you like this post, do help by leaving a comment(s) on which "Bunny" do you prefer? Closed or Open version? For us my boy prefers the open-tart bunny where he describe the pineapple fillings symbolised as a bag of GOLD on the bunny's tummy :)


