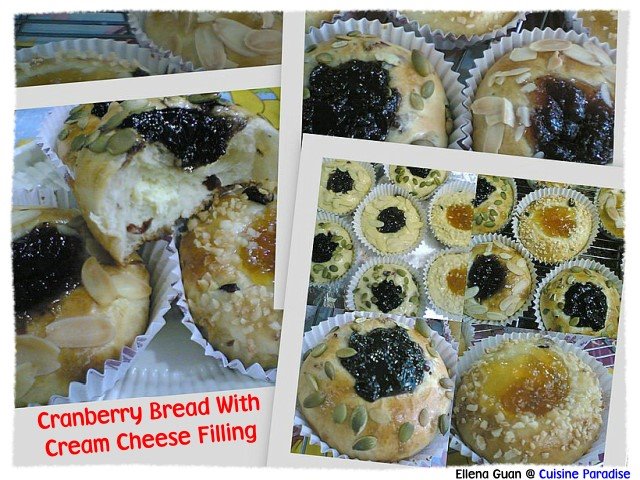
 Opps! Another bread collection for Today's Breakfast. As I was making a batch of the Cranberries Cream Cheese Bread for my aunty, I decided to use half of the dough to make this Cranberries Cinnamon Roll. It's indeed very easy to prepare, just need to sprinkle some brown sugar and cinnamon powder to it.... so simple and yet so delicious........Sometime I think bread making is very simple and full of creative ideas, just as long as you get hold of the kneading process of the dough. Then with the dough, you can creative different kinds of bread according to your creation.
Ingredients: (make about 7 buns)
150g Bread Flour
50g Plain Flour
10g Milk Powder
30g Sugar
1 Medium Egg
½ Teaspoon Salt
1 Teaspoon Instant Dry Yeast
85ml Ice Water
25g Butter/Margarine
40g Dried Cranberries, finely chopped
Methods:
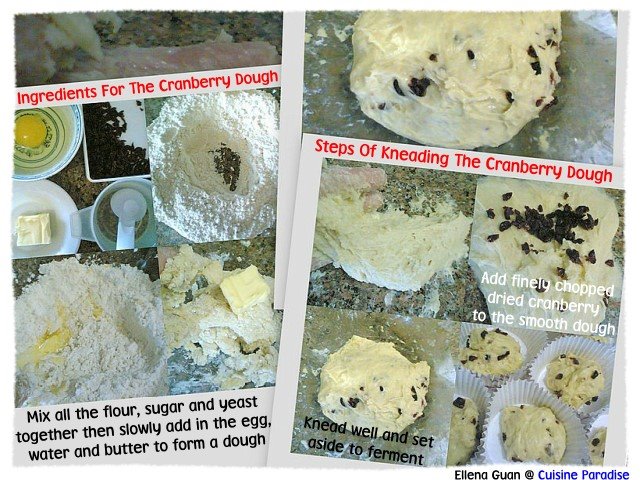
1. Mix bread flour, plain flour, milk powder, salt, sugar and dry yeast till well blended in a big mixing bowl.
2. Next add in Egg, and use finger to mix it well and slowly add in the cold water while you knead the mixture till combine then add in the butter and knead to form a pliable & elastic dough.(you might not need all the ice water, just add slowly while kneading so that it will come to a rough dough consistency then add in the butter)
3. This process may take quite a while, about 30 mins or so.
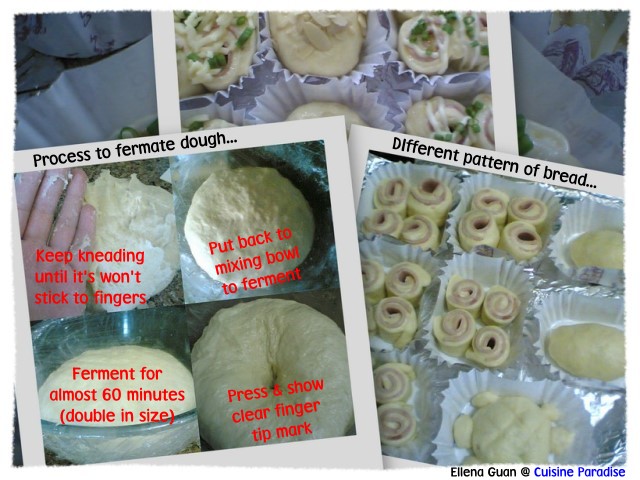
4. The dough will be wet & sticky at first (and kinda messy as well), but keep on kneading (without adding oil or water) until dough no longer sticks to fingers & is glossy on surface.
5. And if you're about to give up just like I did, DON'T!
6. When the dough is done, add in the chopped cranberries slowly and mix till well combine.
7. Place the dough in the mixing bowl, wrap it up and set aside in a warm place to allow dough to fermentate, approx. 45 minutes - 60minutess,(depend on the weather, or you can place it in the oven with a bowl of hot water beside it) the dough must at least double in size after fermentation.
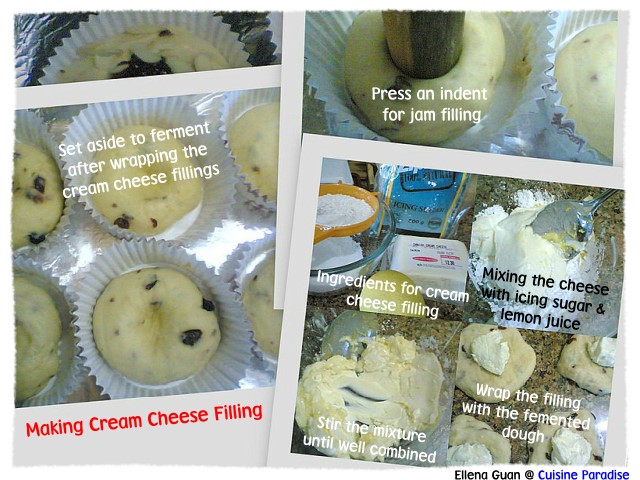
For The Cinnamon Fillings:
1/2 Tablespoon Or more Cinnamon Powder
1 Tablespoon Brown Sugar
1 Tablespoon Soft Butter
1 Egg, lightly beaten
Some Almond Flakes
Methods:
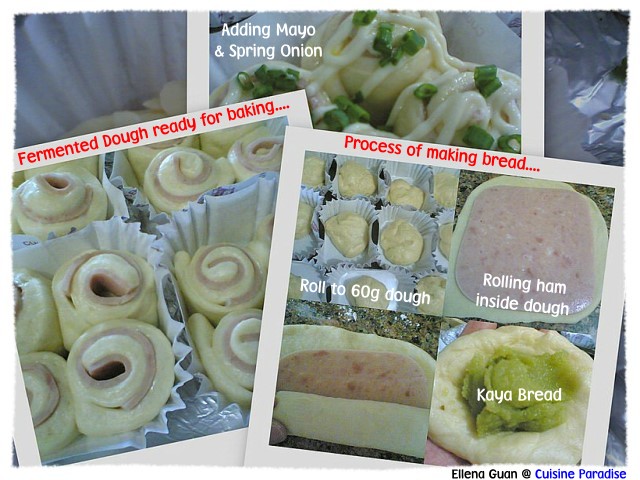
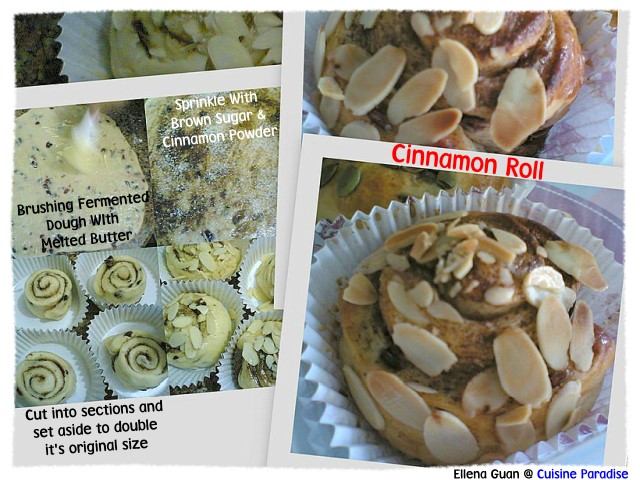
1. Roll the fermented dough roughly into a 30cm by 25cm rectangle shape.
2. Spread a thin layer of butter on the dough surface and sprinkle some cinnamon powder and brown sugar evenly around the surface.(Adjust the amount by personal preference.)
3. Roll up the dough on the wider side downwards evenly, cut the rolled up dough into 6 or 7 equal parts.
4. Place the cut dough into paper mould with the cut surface facing upwards.
5. Leave it to continue ferment until it fill 80% of the mould.
6. Brush the dough with egg wash and sprinkle some almond flakes on the surface, you can spinkle some extra cinnamon powder if you prefer.
7. Bake in a preheat 180 degree oven for about 15 minutes or till golden brown, remove and set aside to cool.