

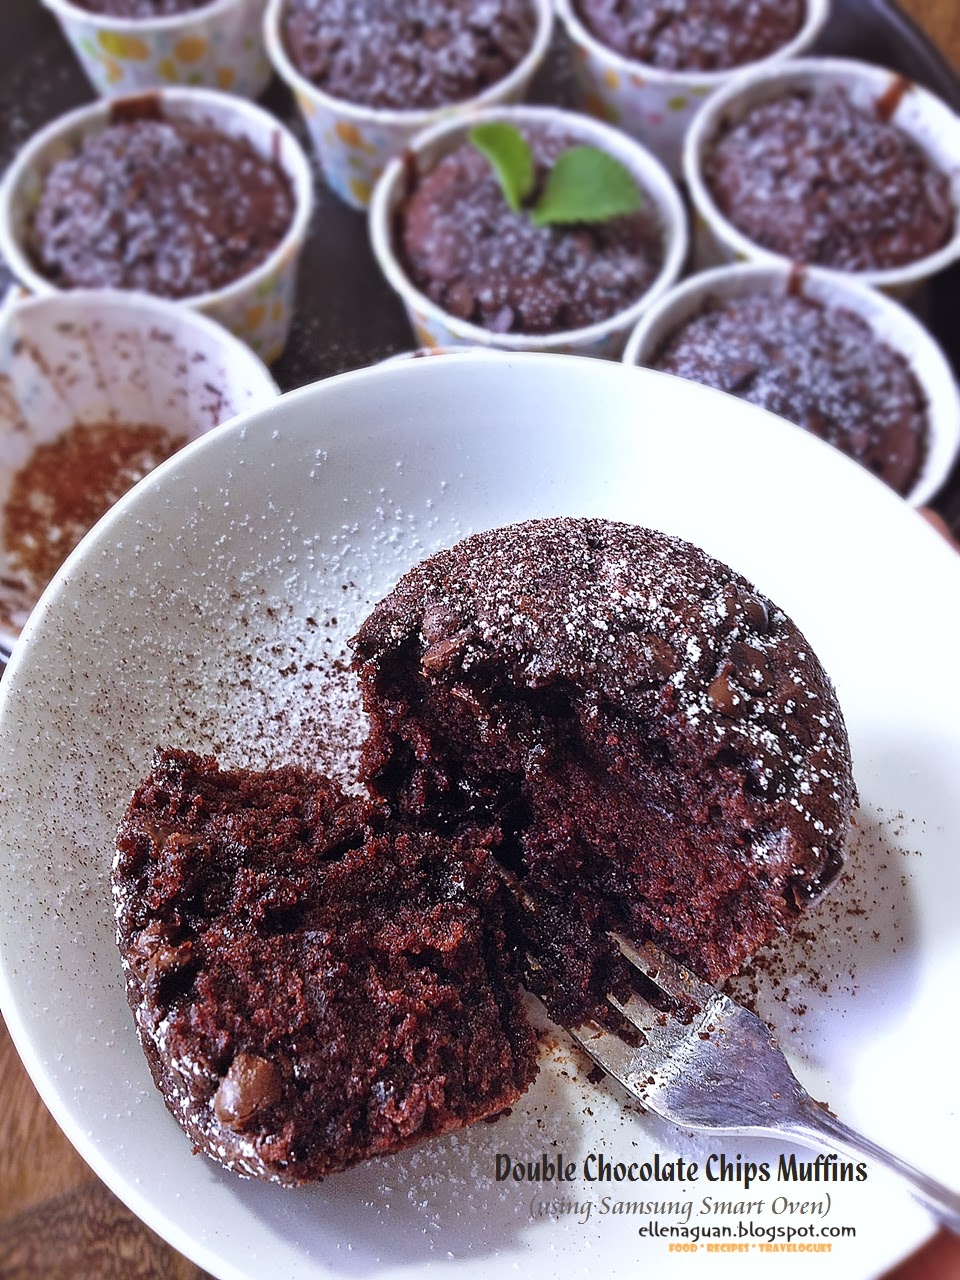
DOUBLE CHOCOLATE CHIP MUFFIN

Even though I have baked muffins with my built-in oven previously, this will be my first time baking them using a microwave convection oven. And to be honest, I was pretty nervous throughout the entire baking process. And as soon as these muffins went into the oven, I was waiting eagerly like a kid for it to rise, bake, and finally taken out of the oven so that I could try on one or two of them.
(Make: 9 Medium Muffin | Preparation: 10 minutes | Cooking Mode: Convection - 18 minutes)
Ingredients:
- 120g All-purpose Plain Flour
- 35g Dutch Processed Cocoa Powder
- 1 Teaspoon Baking Powder
- 150g Caster Sugar
- 2 Eggs
- 150ml Fresh Milk
- 120g Unsalted Butter, melted
- 1/2 Cup Chocolate Chips
Method:-
1. Cut butter into small cubes, transfer it into a microwave safe bowl and place it on the middle of the turntable.
2. Press the Microwave button till the output power display"600W", select the cooking time by turning the Dial Knob clockwise to 50 seconds and press the Start/+30s button (when done using a spoon to stir till the butter melts completely, set aside.).
3. Press the Fast Preheat button to set temperature to 180ºC (degree celsius). Press Start/+30s button to preheat the oven.
4. In a large mixing bowl, beat egg and sugar using electric beater till mixture is pale and creamy. Beat in vanilla extract.
5. Stir sieved flours mixture (all purpose flour, cocoa powder and baking powder) and milk alternatively into the egg mixture until just incorporated (do not over mix the mixture).
6. Next stir in melted butter and chocolate chips until mixture is evenly mixed. Spoon batter into cupcake cases.
7. Arrange 3/4 filled cupcake cases on "crusty plate", place plate on "low rack" and put it on the turntable in the oven.
8. Press the Convection button to set the temperature to 180ºC (degree celsius). Adjust the cooking time by turning the Dial Knob clockwise to 18 minutes and press the Start/+30s button. (cooking time might vary from the size of the muffins)
9. When the baking time ends, insert a skewer into the cake to check if it comes out clean.
10. Stand muffins for 5 minutes and serve warm with scoop of vanilla ice cream or cream if you prefer.
Short cooking clip on the above recipe:
If you cannot view the video above, click on my Instagram link here.


 |
| [Samsung Smart Oven] Double Chocolate Chips Muffin |
HOMEMADE YOGURT

Even though I have been using the "stove method" (recipe) to prepare my homemade yogurt, but due to my curiosity of the oven Auto Fermentation features, I decided to go ahead making a batch without realising that it actually needs more than 6 hours of proofing time in the oven
(Serves: 6 Bottles | Preparation: 5 minutes | Cooking Mode: Auto Fermentation - 7 hours)
Ingredients:
- 500ml Fresh Milk / UHT Milk
- 150g - 200g Natural Yogurt
Method:-
1. Mix natural yogurt (I used Greek Style Natural Yogurt from Farmer Union) with 500ml of milk in a glass or ceramic bowl/container till combined.
2. Cover the glass container with microwave safe cling-wrap and set on turntable in the oven.
3. For Large Bowl:- Press the Auto Fermentation button twice for yogurt making mode, select the code of food by turning the Dial Knob clockwise to "2-2" and press the Start/+30s button. The whole fermentation for large bowl takes about 9 hours in the oven.
ALTERNATIVELY:
4. For Small Bowl or Bottles:- Divide the prepared milk mixture into 6 small glass bottles as shown above. Press Auto Fermentation button twice for yogurt making mode, select the code of food by turning the Dial Knob clockwise to "2-1" and press the Start/+30s button. The whole fermentation for small quantity takes about 7 hours in the oven.
6. After 7 hours, the homemade yogurt is set with a nice pudding like texture. You can serve it warm with some fresh berries straight after the fermentation or cover and chill it in the fridge for another 6 hours for better flavour.


OVEN BAKED APPLE CHIPS

Trust me, these crunchy and addicting snacks are so easy to prepare at home. All you need to do is slice the apples, sprinkle them with cinnamon-sugar (optional) and bake it, nothing tedious about it!
(Serves: 1 | Preparation: 5 minutes | Cooking Mode: Slim Fry- 25 minutes)
Ingredients:
- 1 - 2 Gala Apples, thinly slice
- Cinnamon Sugar, optional
Method:-
1. Wash and dry the apples. Cut or slice it into paper thin slices, pat dry with kitchen paper towel and arrange them on the "low rack".
2. Place the rack on the turntable in the oven and close the oven door.
3. Press the Microwave+Convection button to set the temperature to 200ºC (degree celsius), set the cooking time by turning the Dial Knob clockwise to 10 minutes. Press Microwave+Convection button again to adjust output powder to 450W, press the Start/+30s button to start cooking.
4. When the cooking time ends, flip the chips over. Lower the temperature to 140ºC (degree celsius) and set cooking time to 20 minutes, output powder to 300W follow by the Start/+30s button to continue the baking process. (Do check on the chips during the final 5 minutes of baking time to prevent them from burning, or increase the baking time to another 5 - 10 minutes if it is not crunchy.)
5. Remove the chips from the oven and stand for a few seconds before enjoying it.
ALTERNATIVELY FOR CINNAMON APPLE CHIPS USING SLIM FRY METHOD:
1. Coat or sprinkle the apple slices with some cinnamon sugar on both sides before arranging them on the "crusty plate". Place plate on the "low rack" and put it on the turntable in the oven.
2. Press the Slim Fry button until it shows the preset number "9" for frying sliced courgette/zucchini, select the weight of the food by turning the Dial Knob clockwise shown above to 100 - 150g and press the Start/+30s button (the whole cooking process takes about 12 minutes with interval time stop to allows you to flip the food for even cooking).
3. Repeat the Slim Fry process above, but replace the low rack with "high rack" for crunchy texture.
4. Stand the chips in the oven for a minute or two to help them get crunchy while the oven cools down, remove and enjoy.


I hope you find these recipes useful when you pick up the Smart Oven for your kitchen. And if you have any new ideas/recipes on using this oven, do leave me a comment with or your blog links so that we may exchange cooking/baking ideas too.
*Disclosure: This post is brought to you by Samsung.
Thanks for sharing ! Like
ReplyDeleteHi I just got the oven after reading your blog. Am wondering if you have tried the dough fermenting method?
ReplyDeleteCan share? thanks LL
Hi LL, ooo so far i have not tried the dough fermentation mode as I didn't make any bread to test out.
DeleteHi Can you use a bread tin in dough fermention mode. Thanks Colin
ReplyDelete